Comprehensive Installation and Startup Guide for the YR0111-1-3 Centrifuge
The YR0111-1-3 centrifuge is a high-performance laboratory device designed to achieve efficient sample separation. Proper installation and startup are crucial for ensuring the device operates at its optimal level. This guide offers specific instructions to assist operators in the correct setup and initialization of the YR0111-1-3.
Unboxing the YR0111-1-3 Centrifuge
Upon receiving your YR0111-1-3 centrifuge, it is essential to carefully unbox the equipment. Ensure that all components are included and undamaged. Your unboxing checklist should include:
- YR0111-1-3 centrifuge unit
- Power cord
- User manual
- Warranty card
- Accessories, if any (rotors, adapters)
Inspect each item for signs of damage during transit. Should you find any issues, contact the supplier immediately for resolution.
Site Requirements and Preparation
Before installation, ensure that the site meets specific requirements for the YR0111-1-3 to function correctly:
- Temperature Range: 15°C to 30°C
- Humidity: 20% to 80%, non-condensing
- Voltage: 110V to 240V
- Frequency: 50Hz to 60Hz
A site-preparation checklist can help ensure that everything is in order:
| Requirement | Condition |
|---|---|
| Temperature | Within specified range |
| Space | At least 1 meter of clearance around |
| Power Supply | Stable and within required voltage |
Installing the YR0111-1-3 Centrifuge
Once the site is prepared, proceed with the installation:
- Positioning: Place the centrifuge on a stable, level surface to prevent vibrations during operation.
- Power Connection: Connect the power cord to a grounded outlet. Ensure it aligns with the voltage specifications.
- Initial Setup: After plugging in, turn on the centrifuge using the power switch located at the front panel.
Refer to the user manual for more detailed guidance on assembly if necessary.
First-Time Calibration and Testing
To ensure the accuracy of results, the YR0111-1-3 must be calibrated before first use:
- Run a test cycle without samples to check for any abnormalities.
- Use a calibration rotor to ensure that the RPMs and RCF values are accurate.
- Document the calibration results for future reference.
Performing this calibration is essential to avoid inaccurate results.
Error Code Troubleshooting
During operation, you may encounter error codes on the YR0111-1-3. Below is a guide for common issues:
| Error Code | Possible Cause | Solution |
|---|---|---|
| E-01 | Power failure | Check the power supply and connections |
| E-02 | Unbalanced load | Redistribute samples evenly in the rotor |
| E-03 | Overheating | Allow the centrifuge to cool down before next use |
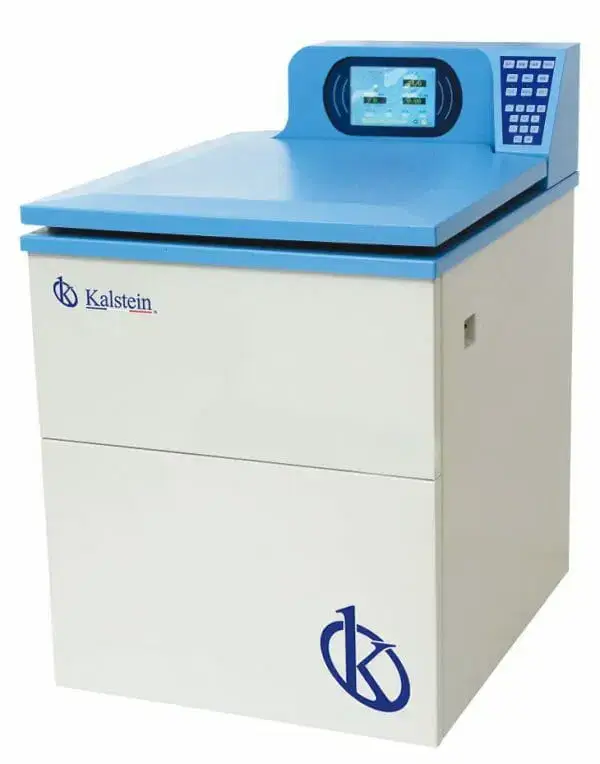
Technical Specifications of the YR0111-1-3
| Model | YR0111-1-3 |
|---|---|
| Brand | Kalstein |
| Category | Centrifuges |
| Price USD | $798.00 |
| Gross Weight | 8 kg |
| Dimensions | Not specified |
| Package | 0 x 0 x 0 cm |
Frequently Asked Questions
What should I do if the YR0111-1-3 does not power on?
If the centrifuge does not power on, first check if it is properly plugged into a power outlet. Then inspect the power cord for any visible damage. If the issue persists, consider checking the circuit breaker or fuse.
How do I balance the rotor in the YR0111-1-3?
Balancing the rotor is crucial for safe operation. Ensure that samples are placed directly opposite each other and that the total weight on both sides is equal. If using adapters, ensure they are also balanced.
What is the maximum RPM of the YR0111-1-3?
The maximum RPM of the YR0111-1-3 is specified in the technical manual. For optimal performance, do not exceed this limit during operation.
Can I use the YR0111-1-3 for different types of samples?
Yes, the YR0111-1-3 is versatile and can be used for a variety of sample types, including biological samples, blood, and chemical solutions. Always refer to the user manual for compatibility advice.
How often should I perform maintenance on the YR0111-1-3?
Regular maintenance should be performed according to the guidelines in the user manual. Typically, a thorough inspection and cleaning should be conducted every month, while more detailed servicing may be required semi-annually.
What is the warranty period for the YR0111-1-3?
The YR0111-1-3 comes with a standard warranty that covers manufacturing defects. Refer to the warranty card provided with your unit for the specific duration and terms.
If you are looking for a fusion of innovation and quality, you have come to the right place. At Kalstein, we offer you the luxury of exploring our exclusive catalog of laboratory equipment. We manufacture every device to the highest standards of excellence. Our intuitive and seamless online purchasing channels are designed for your convenience, securing the most competitive prices. Hesitate no longer — we bring science to life, it is time to become part of our community.