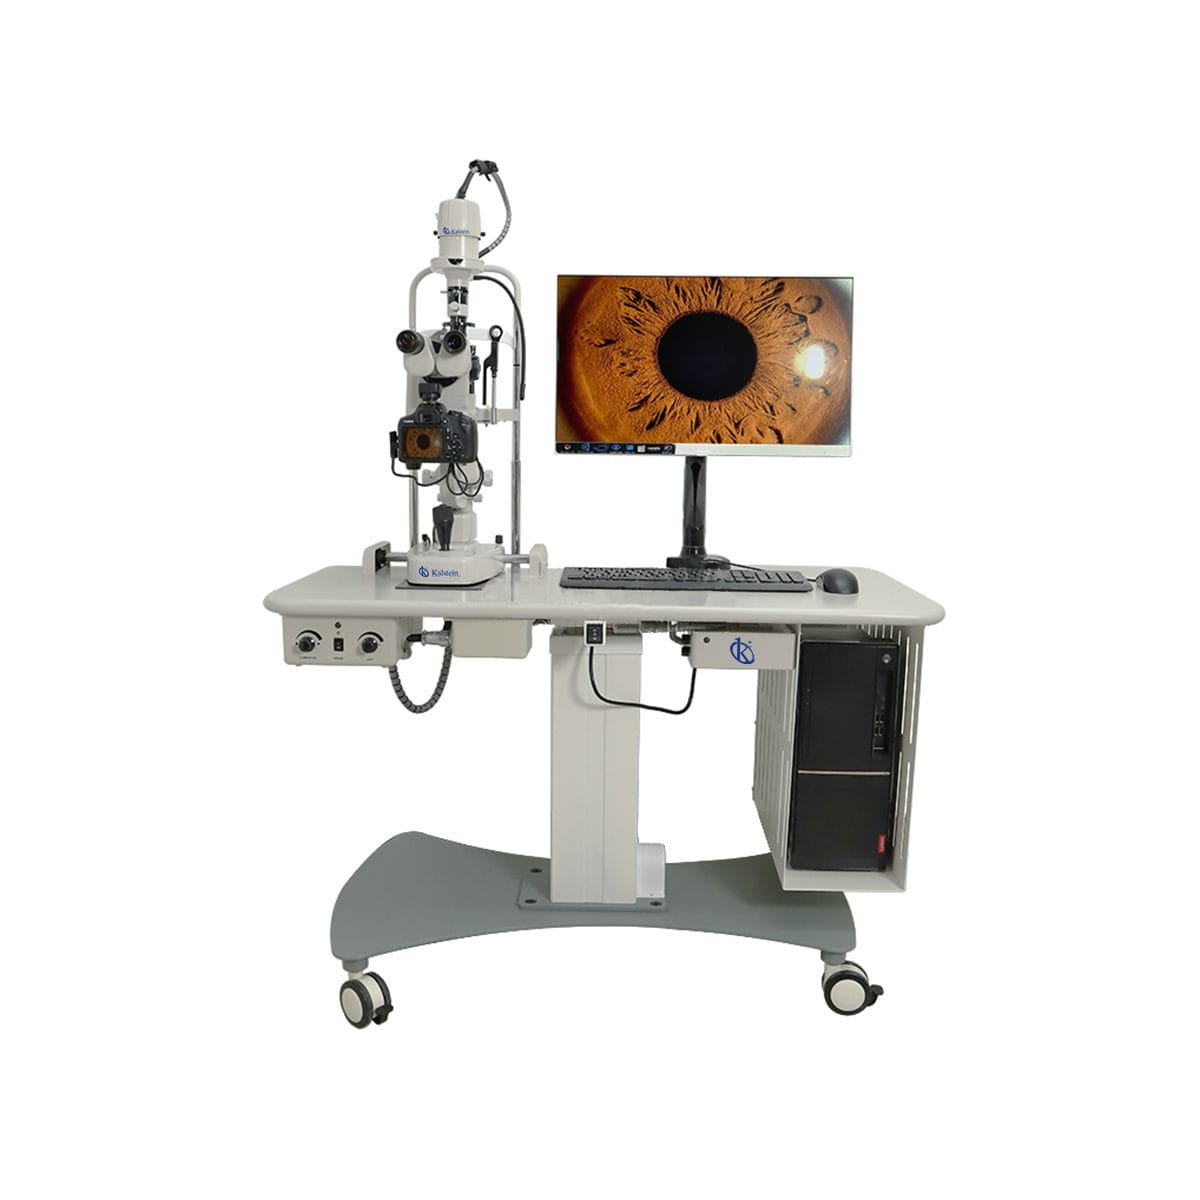
Installation and Startup Guide for the YR06200 Digital Veterinary Slit Lamp
The YR06200 Digital Veterinary Slit Lamp is an advanced imaging system designed for veterinary professionals, providing high-resolution imaging capabilities essential for accurate diagnostics. Proper installation and startup are critical to harnessing the full potential of this equipment. This guide will cover essential steps you need to take to install and initialize the YR06200, ensuring optimal performance from the outset.
Unboxing and Initial Setup
Upon receiving the YR06200 Digital Veterinary Slit Lamp, carefully unbox the equipment. Check for the following items:
- YR06200 Slit Lamp Unit
- Power Cable
- User Manual
- Calibration Tools
- Accessories (if any)
Verify the integrity of all components before proceeding to installation. Any damaged items should be reported to the supplier immediately.
Site Requirements and Environmental Conditions
Before installation, ensure that the room is prepared according to the following specifications:
| Requirement | Specifications |
|---|---|
| Temperature Range | 15°C to 30°C |
| Humidity | 30% to 70% RH |
| Power Supply | 110V/220V (± 10%) 50/60Hz |
| Ventilation | Ensure adequate airflow around the unit |
| Vibration | Free from excessive vibrations |
This checklist will help in minimizing potential issues during operation. If conditions are outside these specifications, delays in performance or equipment damage may occur.
Installation Steps
Follow these steps to correctly install the YR06200 Slit Lamp:
- Position the Unit: Place the slit lamp on a stable, flat surface, ensuring it is level and secure.
- Connect Power Supply: Plug the power cable into the unit and connect it to the electrical outlet.
- Setup Calibration Tools: Ensure the calibration tools are ready for use to set the initial parameters.
- Check Connections: Verify all cable connections, including those for any additional peripherals or components.
Power-Up Sequence and First Calibration
After installation, follow the power-up sequence:
- Press the power button located at the main control panel.
- Wait for the system to initialize; this may take a few moments.
- Once the system is booted, you will be prompted to perform the initial calibration.
Calibration is crucial for ensuring accuracy in imaging. Follow the on-screen instructions carefully for the calibration process. Typical adjustments may include:
- Setting the diopter for optimal focus.
- Adjusting magnification settings according to the desired imaging needs.
- Configuring the lighting settings based on ambient light conditions.
Common Installation Mistakes to Avoid
Be mindful of these common pitfalls during installation:
- Improper leveling of the unit, which can lead to misalignment.
- Ignoring environmental requirements, such as temperature and humidity.
- Failing to check compatibility of peripherals and ensuring proper cable connections.
Technical Specifications of YR06200
| Model | YR06200 |
|---|---|
| Microscope Type | Parallel Angle Type |
| Total Magnification | 6X, 10X, 16X, 25X, 40X |
| Eyepiece Magnification | 12.5X |
| Visual Field Diameter | φ37, φ23, Ø14, Ø8.7, Size 5.7 |
| Input Power | 60VA |
Frequently Asked Questions
What are the unique features of the YR06200 Digital Veterinary Slit Lamp?
The YR06200 boasts a professional-grade imaging system capable of capturing high-resolution images for veterinary diagnostics. It features advanced background illumination and powerful image analysis functions, making it a vital tool in veterinary practices.
How do I perform maintenance on the YR06200?
Regular maintenance includes cleaning the optical components, ensuring the software is updated, and checking for any loose connections. Refer to the user manual for detailed maintenance instructions.
What are common troubleshooting steps if the unit does not power on?
Check that the power cable is securely connected, inspect for any visible damage, and ensure the outlet is functioning. If the issue persists, consult the troubleshooting section in the user manual.
Can I use the YR06200 in a low-light environment?
Yes, the YR06200 features a unique background lighting system that compensates for low-light conditions, allowing for clear imaging even in darker settings.
What type of warranty comes with the YR06200?
The YR06200 typically comes with a standard warranty covering defects in materials and workmanship. For specific terms, refer to the warranty documentation included with the unit.
How do I adjust the lighting settings on the YR06200?
Lighting adjustments can be made via the control panel, where you can select the desired illumination settings based on your specific imaging requirements.
What is the typical lifespan of the YR06200?
The expected lifespan of the YR06200 is around 10 years with regular maintenance and proper usage, although this may vary depending on usage frequency and environmental conditions.
If you are looking for a fusion of innovation and quality, you have come to the right place. At Kalstein, we offer you the luxury of exploring our exclusive catalog of laboratory equipment. We manufacture every device to the highest standards of excellence. Our intuitive and seamless online purchasing channels are designed for your convenience, securing the most competitive prices. Hesitate no longer — we bring science to life, it is time to become part of our community.